Installing ThingsBoard on DigitalOcean
This guide describes how to install ThingsBoard Community Edition on DigitalOcean.
- Prerequisites
- Step 1. Launch Ubuntu 18.04 on DigitalOcean
- Step 2. Configure Firewall Rules
- Step 3. Connect to your instance using SSH
- Step 4. Use regular installation instruction for Ubuntu
- Post-installation steps
- Troubleshooting
- Next steps
Prerequisites
- Active DigitalOcean account
Step 1. Launch Ubuntu 18.04 on DigitalOcean
Step 1.1 Create DigitalOcean Droplet
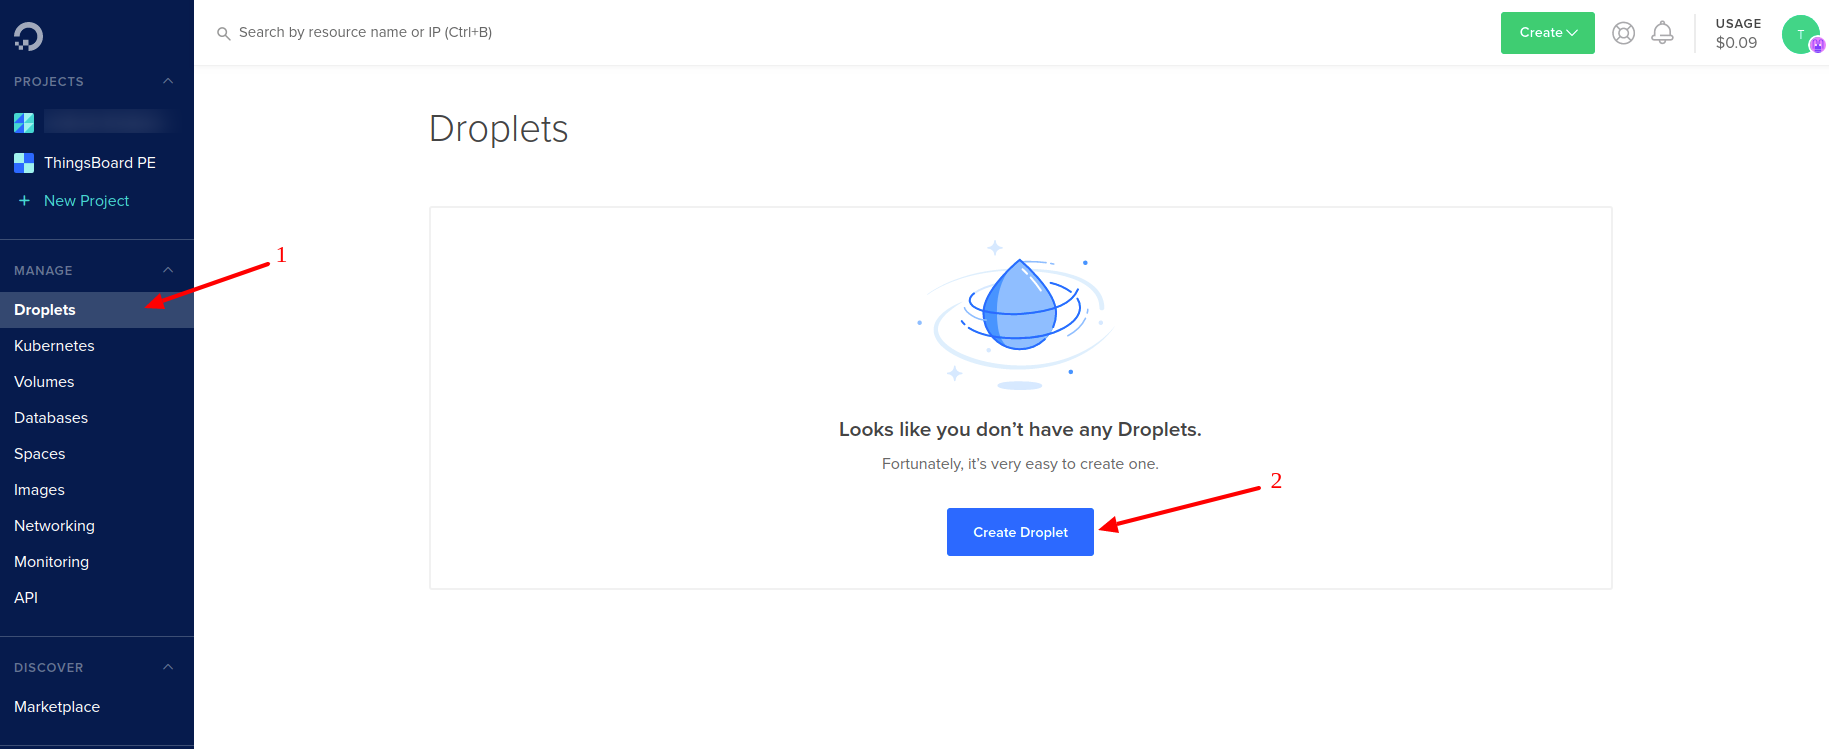
- Login to your DigitalOcean account.
- Click the “Droplets” menu item and then the “Create Droplet” button (see image below).
Step 1.2 Select your plan
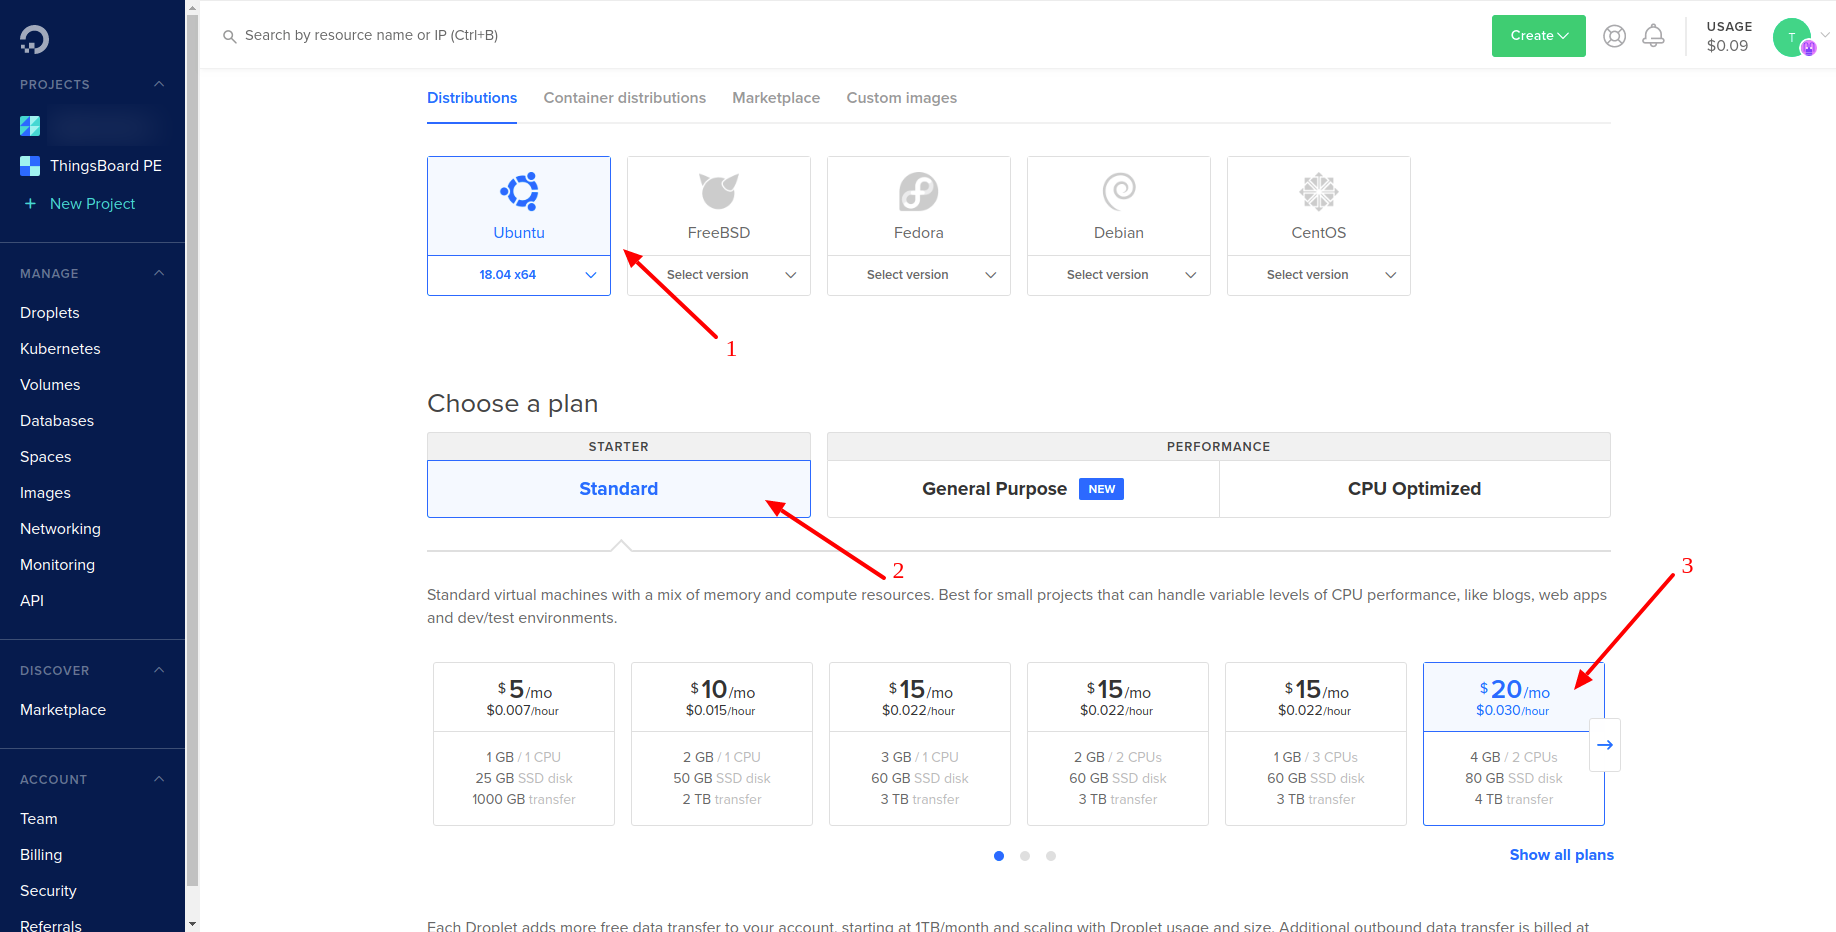
- Once “Create Droplets” page is loaded, select “Ubuntu 18.04 x64” as your image (see image below).
-
Choose your plan. For beginners we would like to recommend 2CPUs and 4GB of RAM plan.
Note: Advanced ThingsBoard users may choose the plan that suites their workload best.
Step 1.3 Choose Region
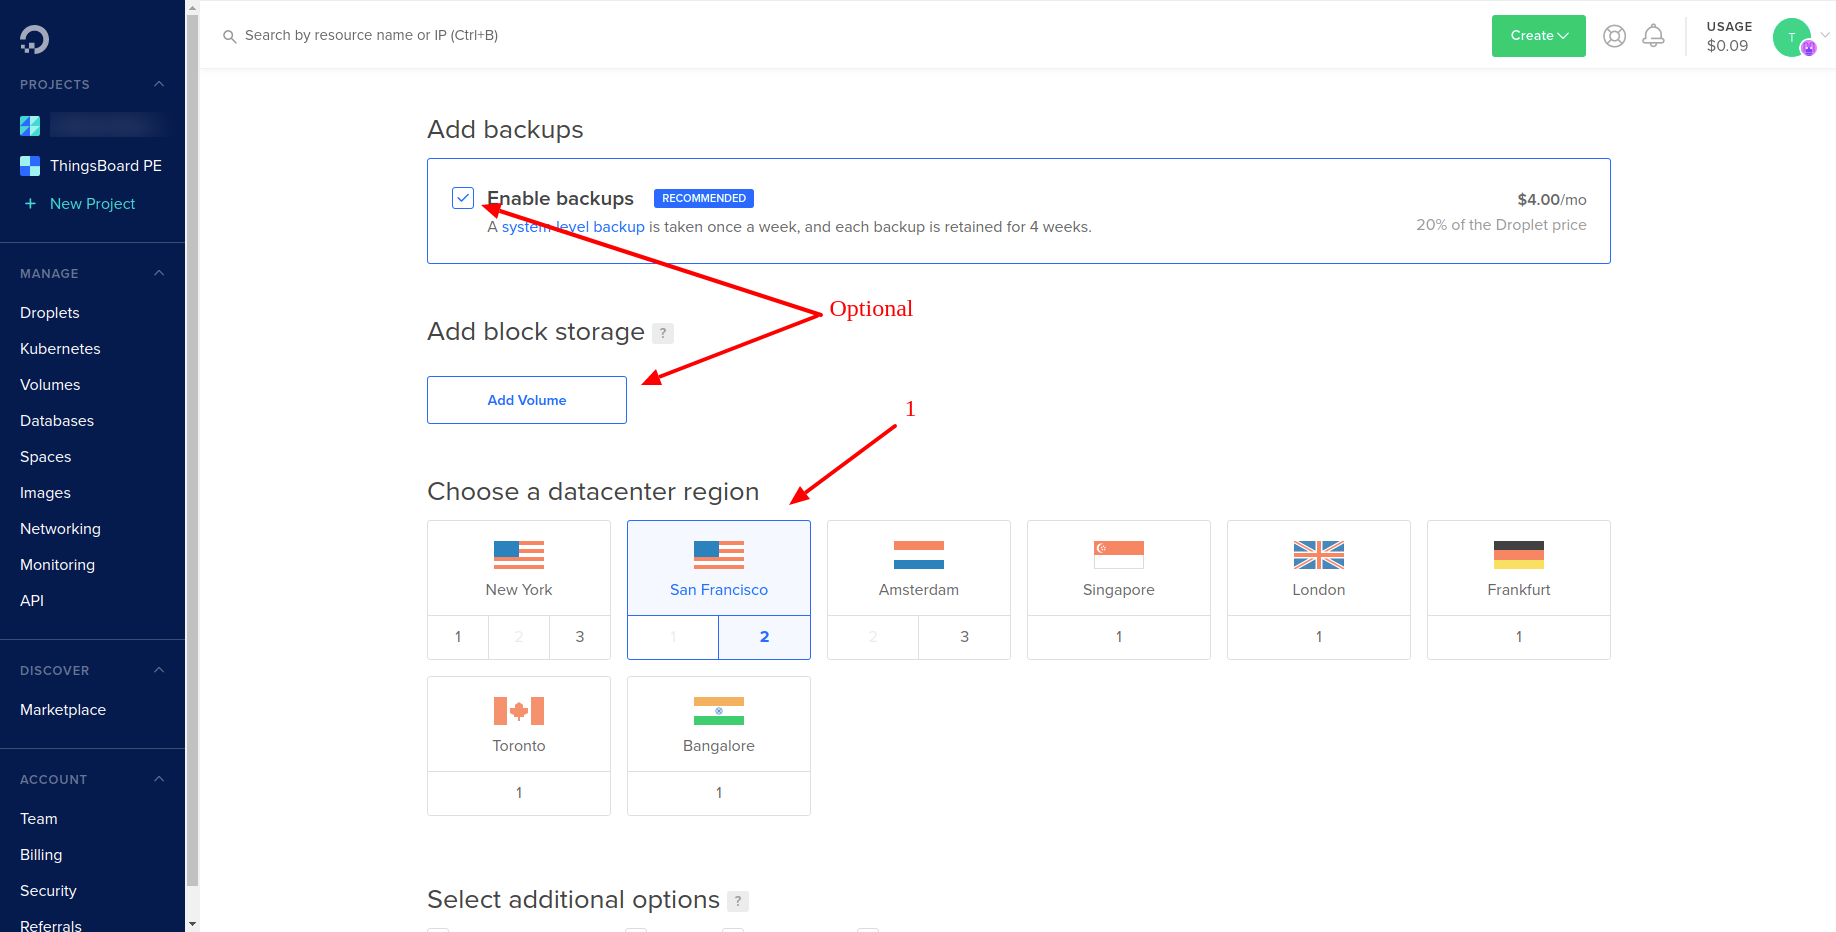
- Scroll down to select datacenter region from the available list (see image below).
- [Optional] Enable backups. Although this is optional we highly recommend to do this.
- [Optional] Add block storage
Step 1.4 Authentication
- Use existing or create new SSH Key that will be used to connect to your instance. Make sure you have access to the SSH Key you have chosen. We will use this key later in the guide to connect to this instance.
- Put a meaningful hostname
- Add “thingsboard” tag, just-in-case, we are not going to use it in this instruction.
- Finally, click the “Create Droplet” button.
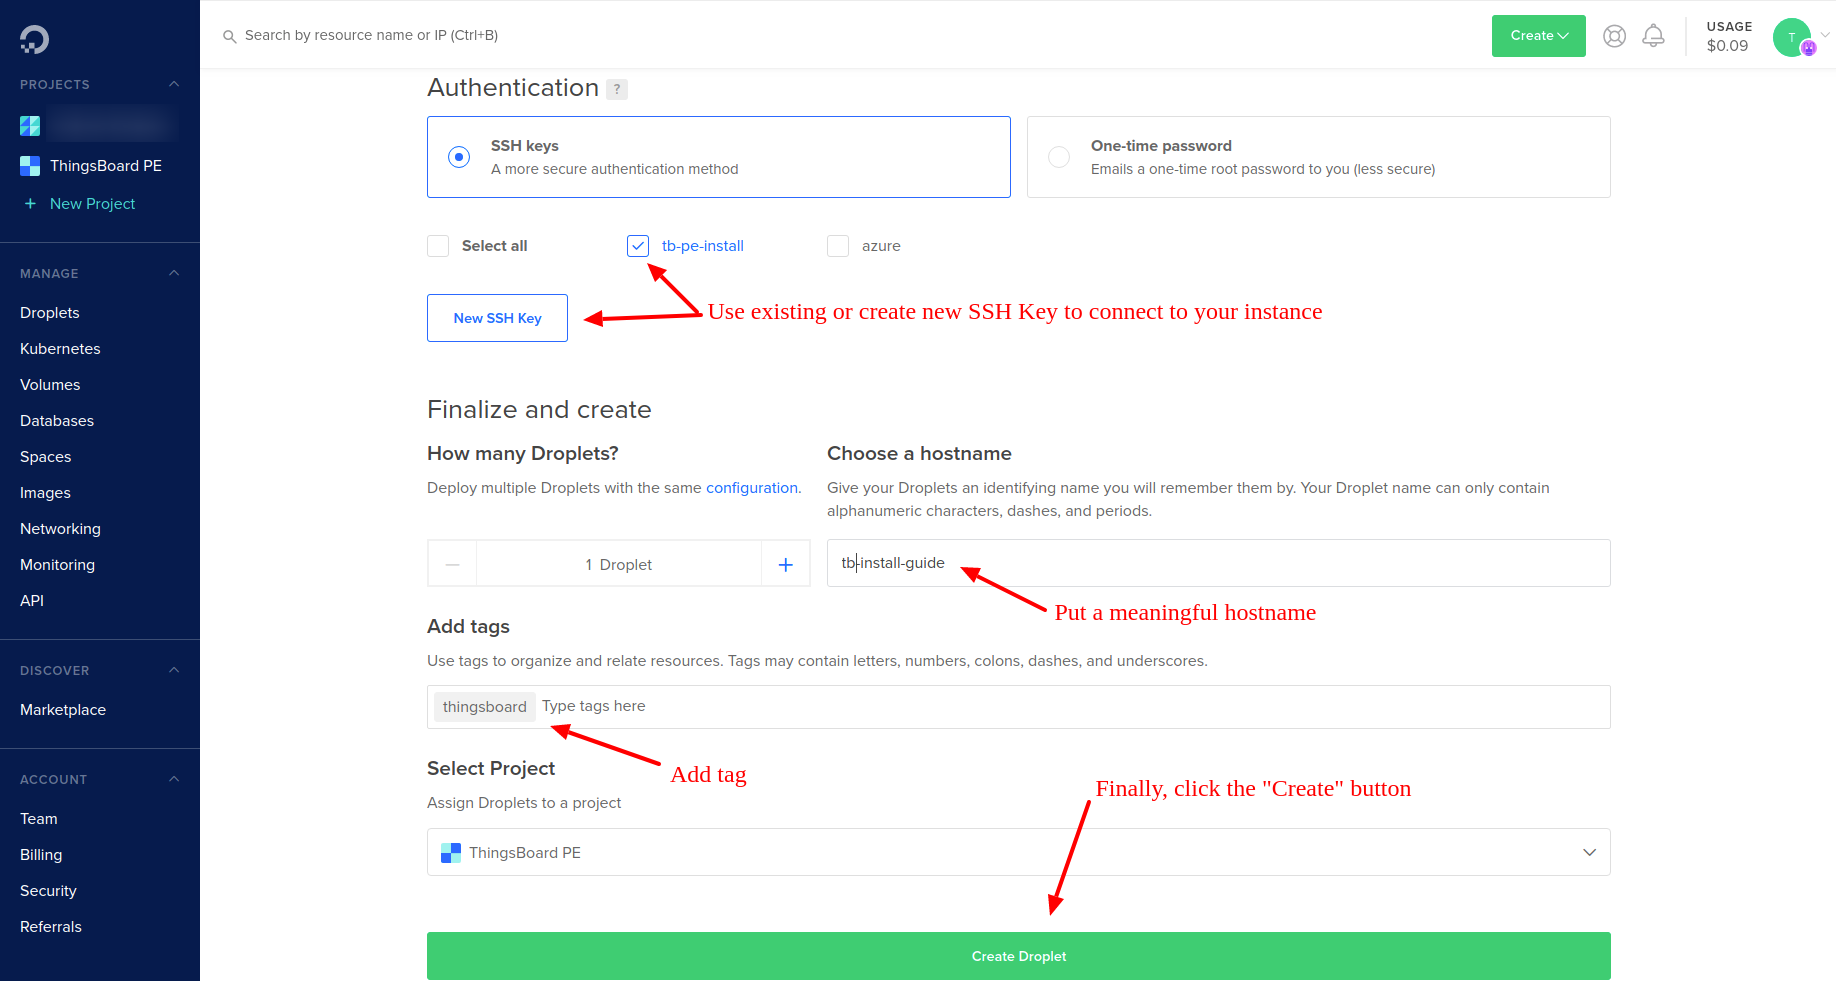
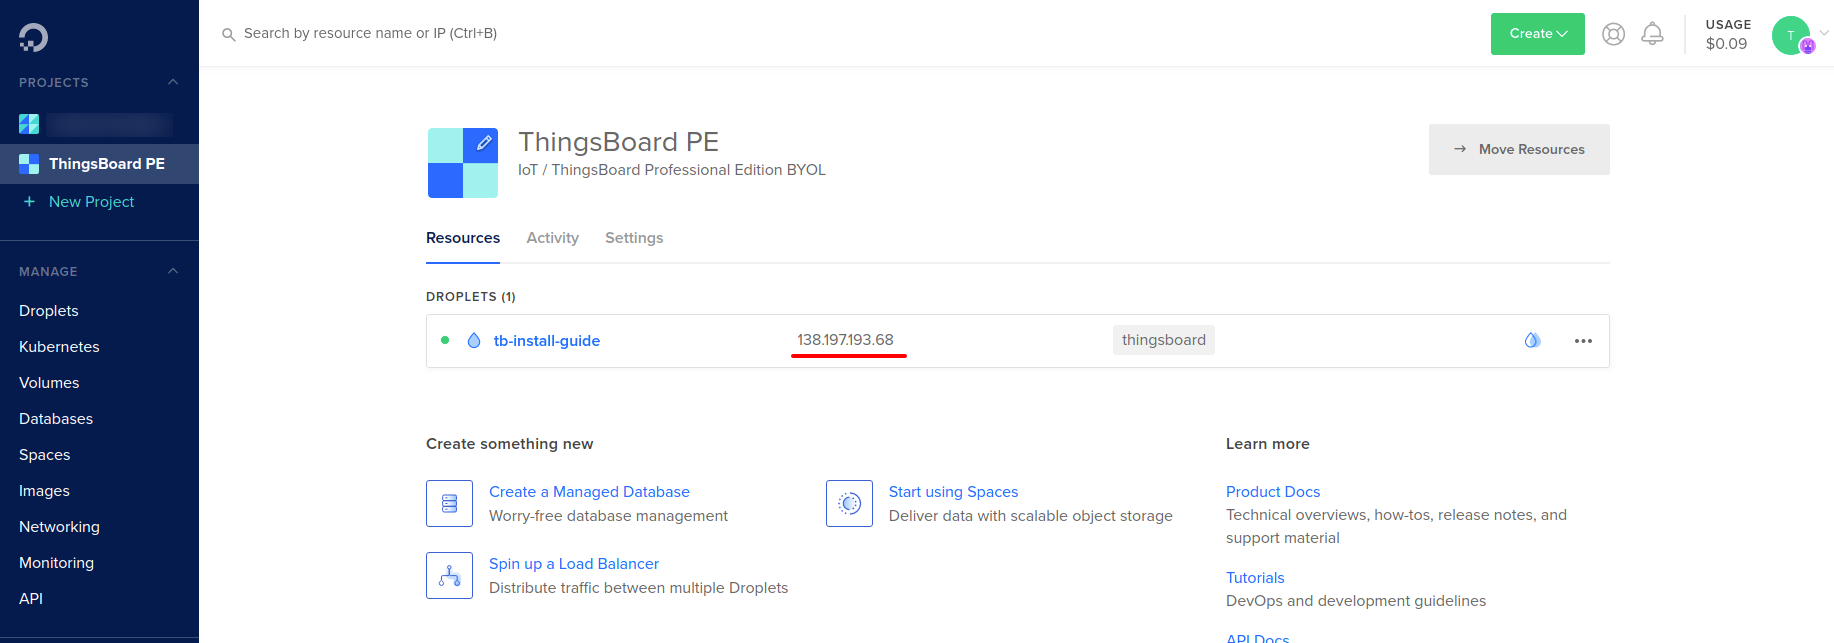
- Once droplet is created, copy the IP address of your droplet to a safe place. We will use it later in the guide.
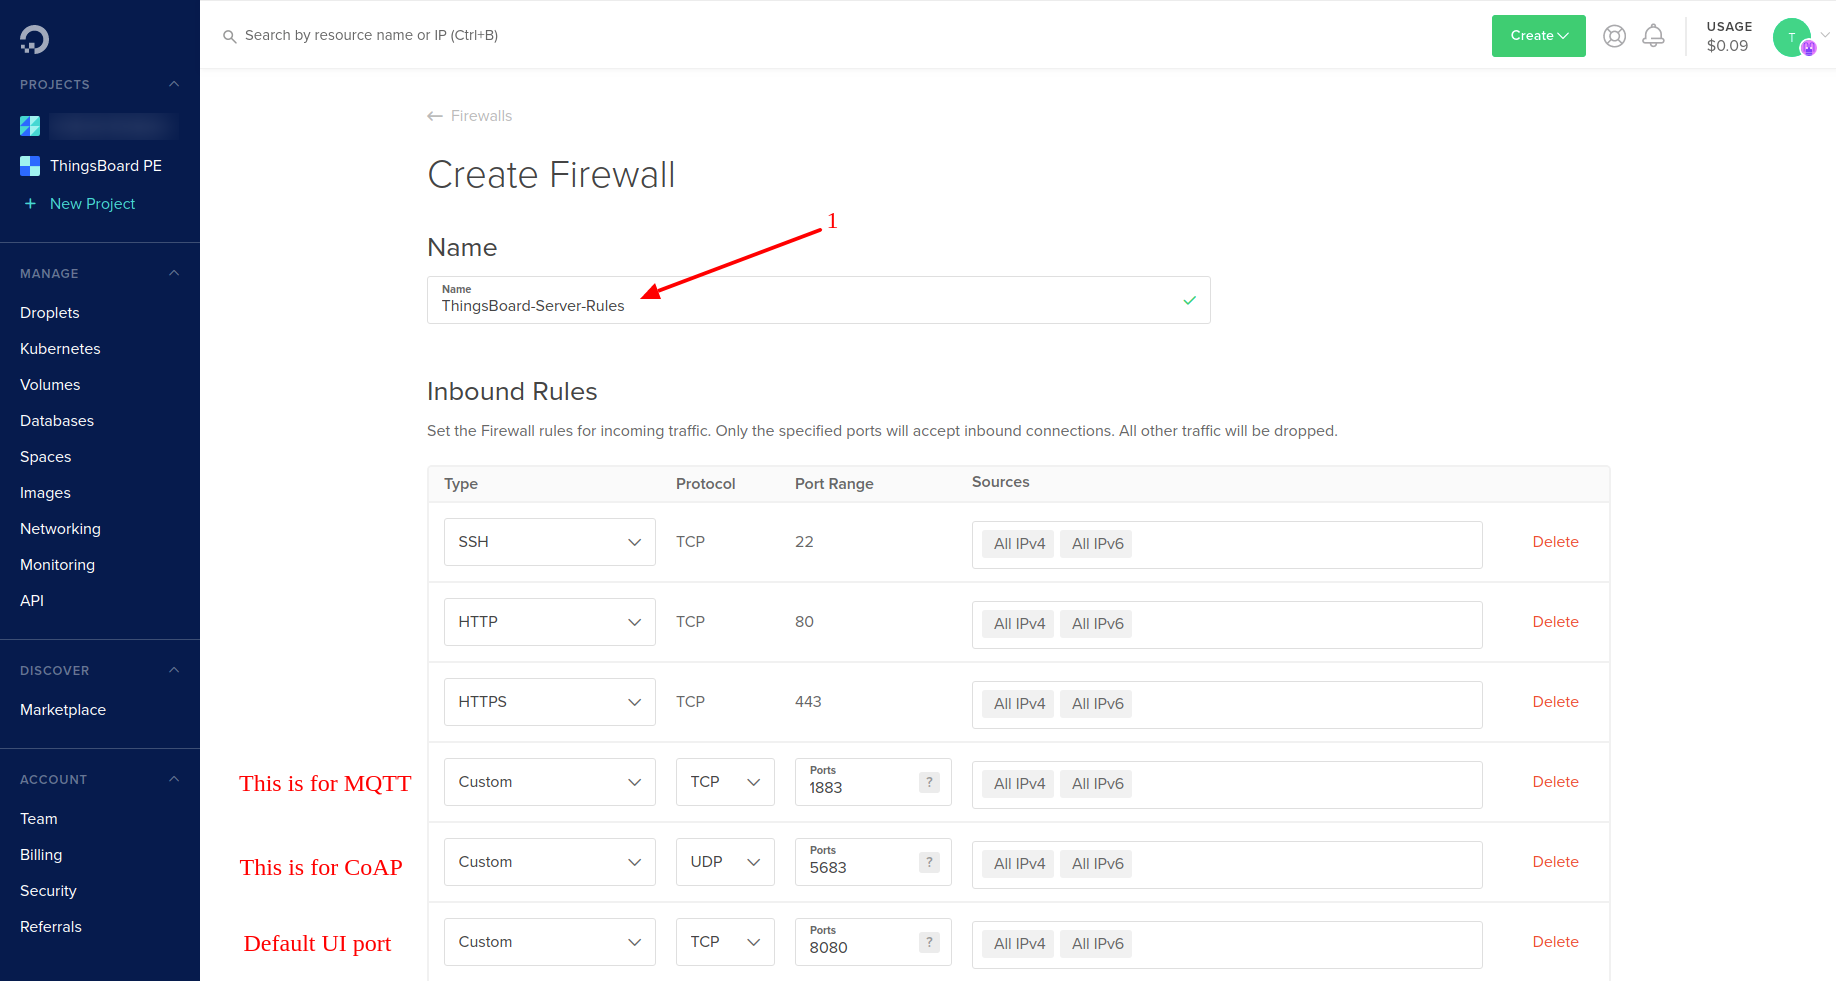
Step 2. Configure Firewall Rules
Now we need to configure Firewall rules to allow MQTT, CoAP and HTTP traffic. See images below:
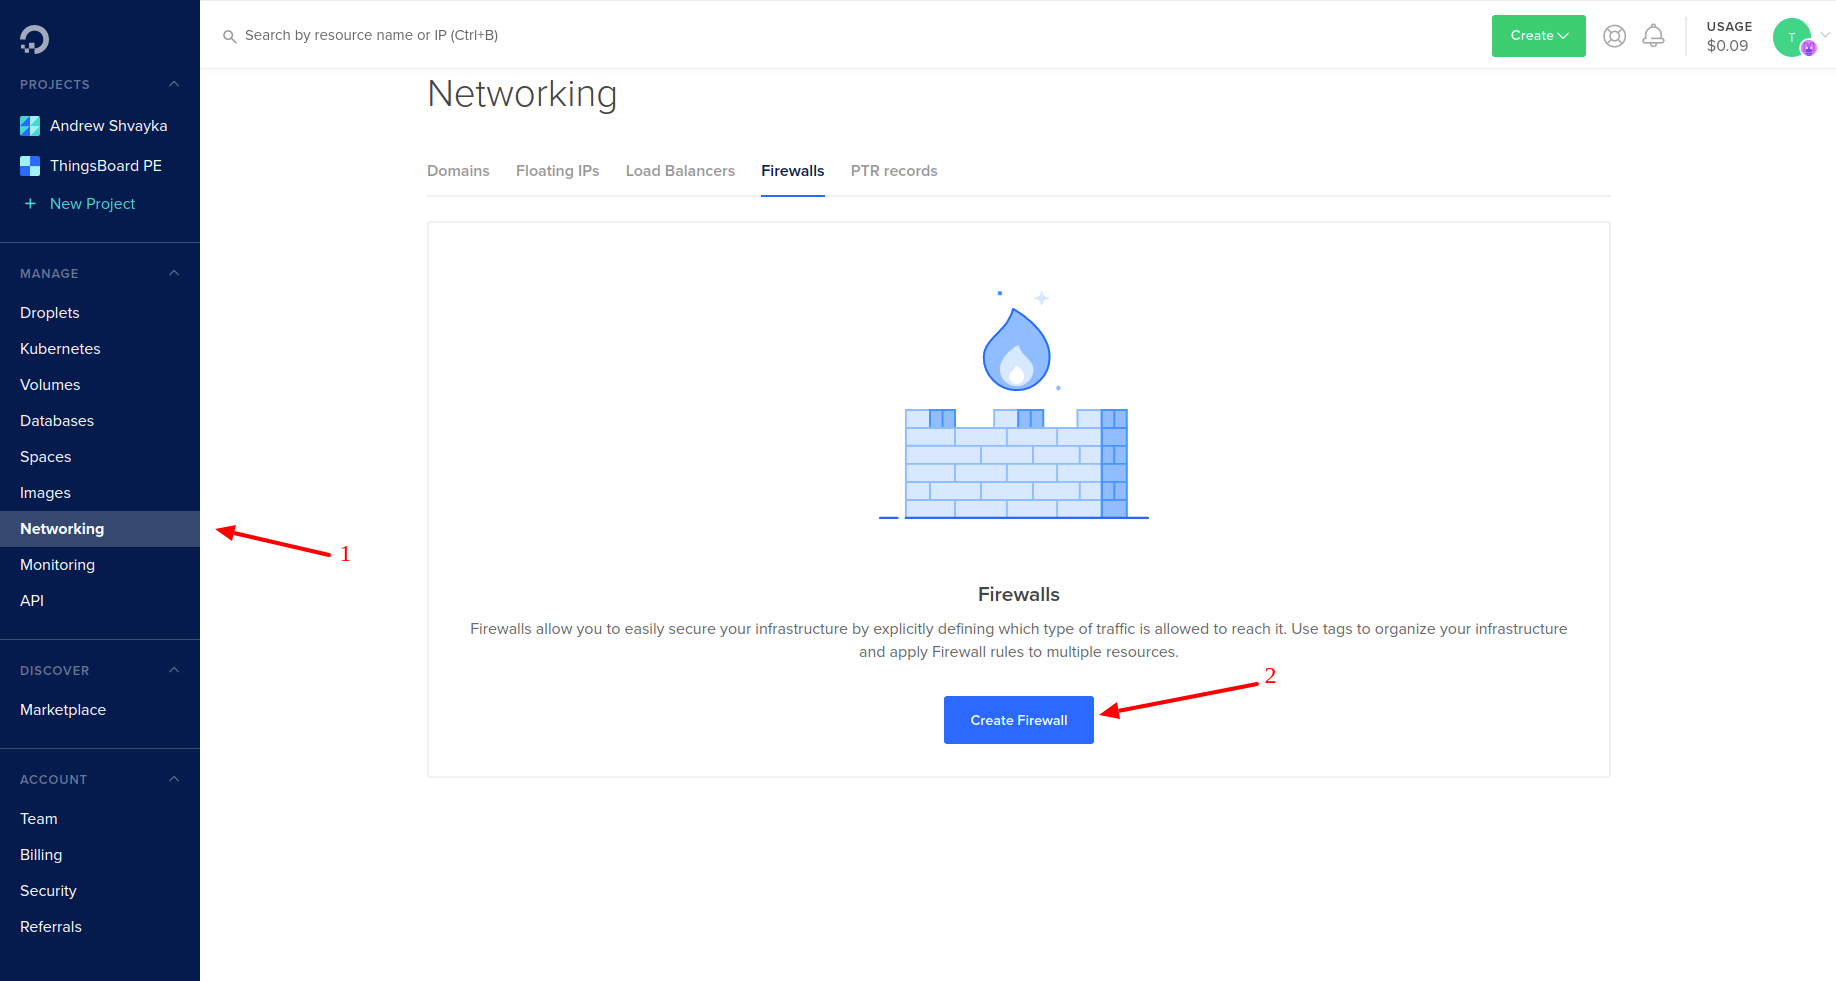
- Give your Firewall a meaningful name;
- Configure HTTP, HTTPS and three custom rules as set on the screen below.
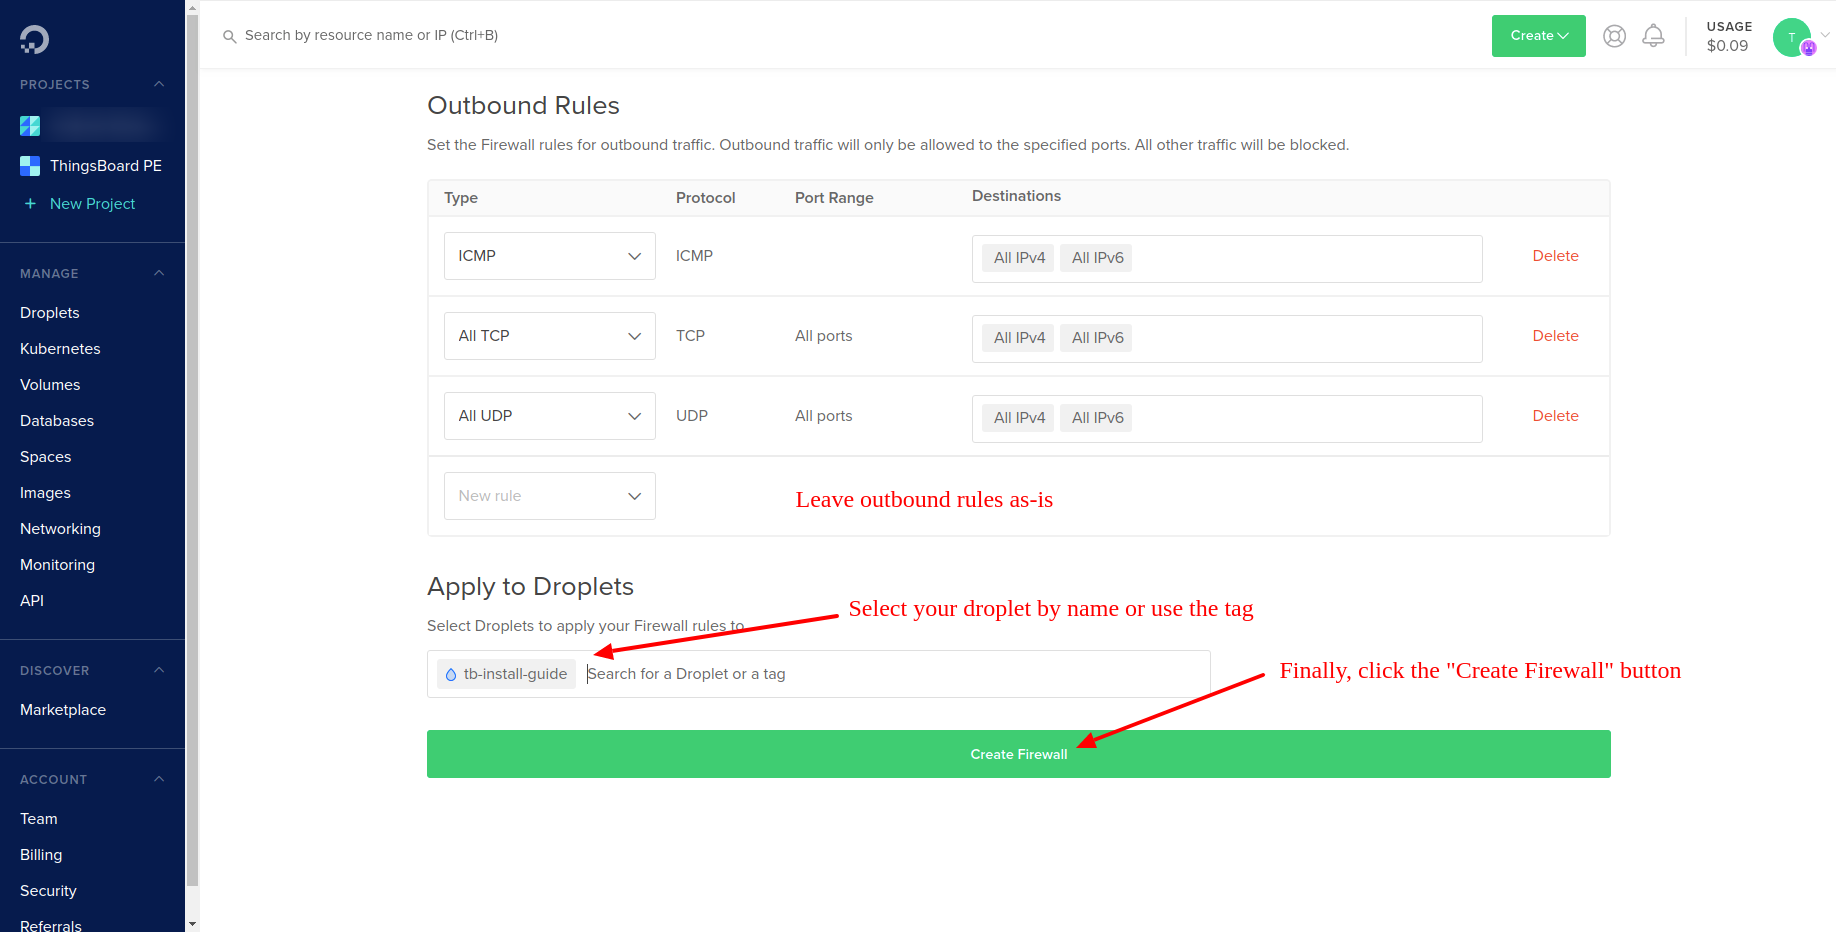
- Leave outbound rules as-is;
- Select your droplet or tag to assign this firewall;
- Finally click “Create Firewall” button.
Step 3. Connect to your instance using SSH
Please use the official guide and the SSH Key we have created during Step 1.4.
Step 4. Use regular installation instruction for Ubuntu
Please navigate to the ThingsBoard installation instruction for Ubuntu and complete the installation steps.
Note: Use your droplet IP address instead of “localhost” to access the instance WEB UI.
Post-installation steps
Configure HAProxy to enable HTTPS
You may want to configure HTTPS access using HAProxy. This is possible in case you are hosting ThingsBoard in the cloud and have a valid DNS name assigned to your instance. Please follow this guide to install HAProxy and generate valid SSL certificate using Let’s Encrypt.
Troubleshooting
ThingsBoard logs are stored in the following directory:
/var/log/thingsboard
You can issue the following command in order to check if there are any errors on the backend side:
cat /var/log/thingsboard/thingsboard.log | grep ERROR
Next steps
-
Getting started guides - These guides provide quick overview of main ThingsBoard features. Designed to be completed in 15-30 minutes.
-
Connect your device - Learn how to connect devices based on your connectivity technology or solution.
-
Data visualization - These guides contain instructions how to configure complex ThingsBoard dashboards.
-
Data processing & actions - Learn how to use ThingsBoard Rule Engine.
-
IoT Data analytics - Learn how to use rule engine to perform basic analytics tasks.
-
Hardware samples - Learn how to connect various hardware platforms to ThingsBoard.
-
Advanced features - Learn about advanced ThingsBoard features.
-
Contribution and Development - Learn about contribution and development in ThingsBoard.